Transfer Azure Domain
Hi team, great to have you here again.
I’m writing this article to share a recent experience I had with Azure App Service Domains. Let me begin by describing my issue:
A few years ago, I created an Azure Web App to host a WordPress site. However, the cost of maintaining the site on Azure was too high, so I decided to transfer the hosting to another provider. Recently, my NS records were not updating, which caused my Office 365 services and website to go down. The solution provided by the new host was to add specific NS records, such as «123» and «345.» However, when I attempted to update these records in Azure, I discovered that it is not possible to change the NS records created by Microsoft’s DNS Zone. This led to complications, and I explored various solutions. Unfortunately, as of 2024, it appears that only Microsoft’s support team can make these changes. The only way I found to gain control of my DNS zone and update the NS records was by transferring the domain out of Azure. This article will describe that process.
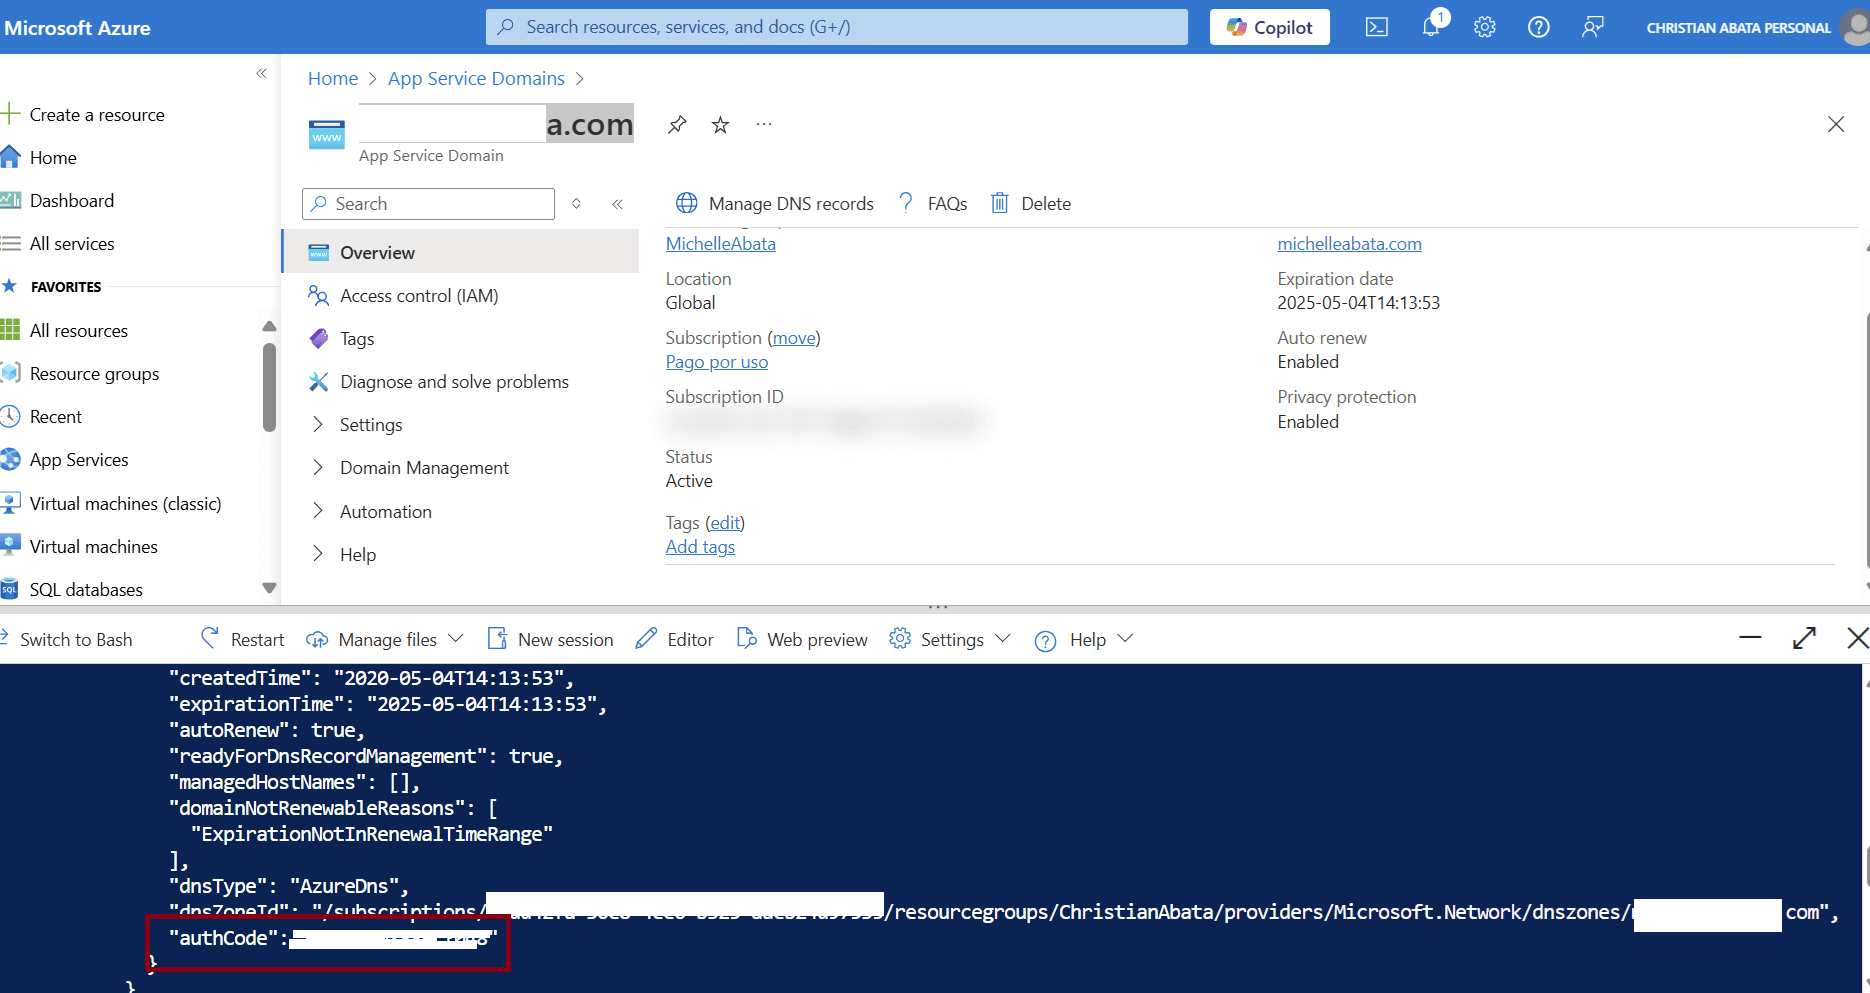
First, to transfer a domain, you need to obtain the authorization (Auth) code associated with your domain. This is the first step you should take. Below, I will outline the best method I found for retrieving the Auth code.
Exceptions for Transferring a Domain Out
PowerShell to get Auth code from Azure App Service Domain
Currently, there is no first-class PowerShell support for transferring domains out of Azure. However, you can use the following command to retrieve your authorization code:
Invoke-AzRestMethod -Path "/subscriptions/<SUBSCRIPTION-ID>/resourceGroups/<RESOURCE-GROUP-NAME>/providers/Microsoft.DomainRegistration/domains/<DOMAIN-NAME>/transferout?api-version=2021-02-01" -Method PUT
Using Cloud Shell

Get Auth Code from Azure Domain Service


